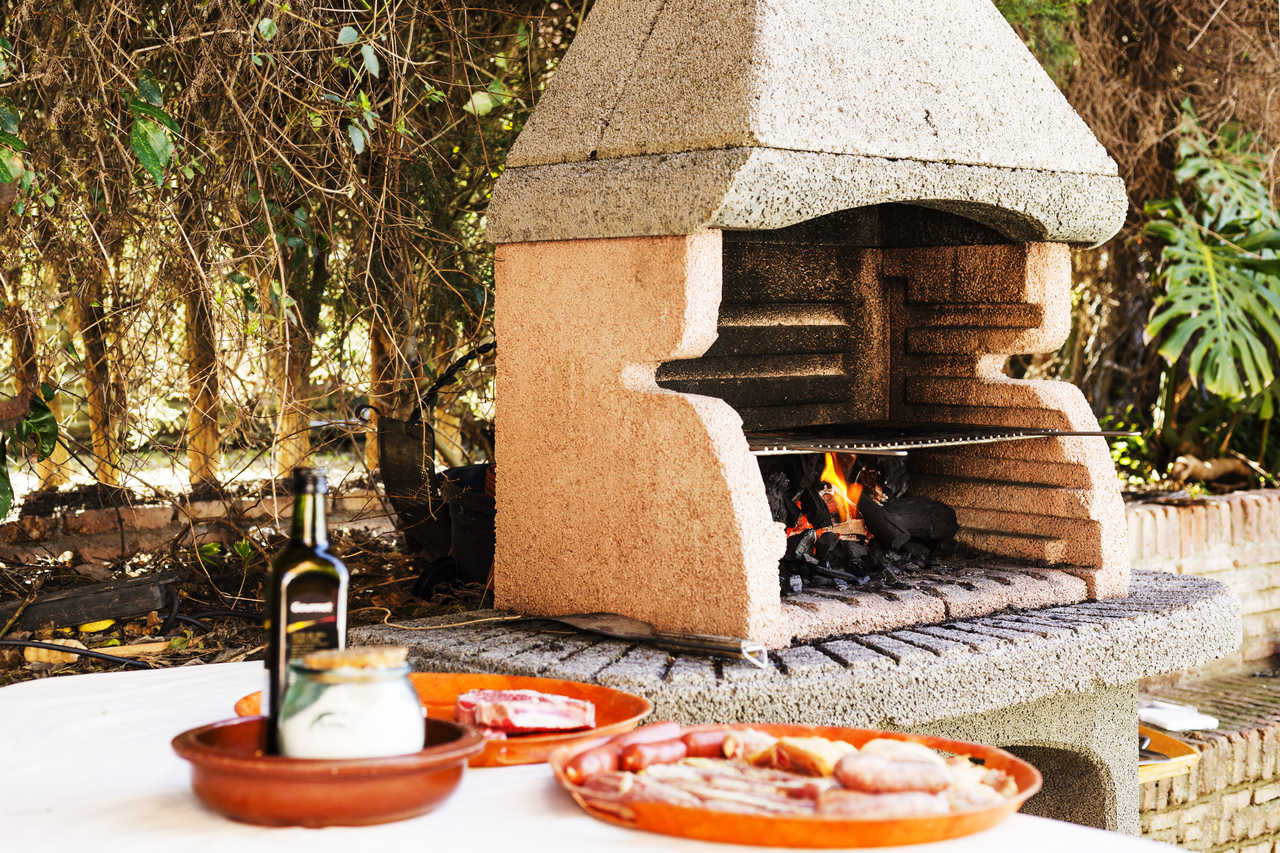
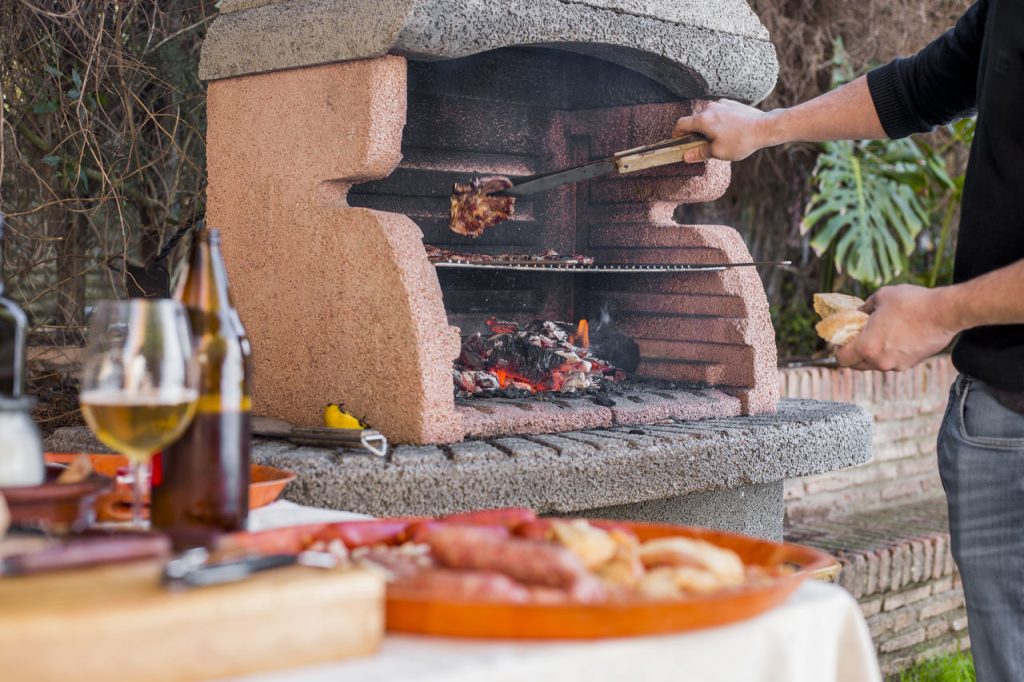
With the first sunny days of spring, most of us pull out our portable grills from the recesses of basements and other storage areas and plan a delicious outdoor feast. However, sometimes it turns out that the grill used last season is no longer fit for purpose.
In this situation, instead of buying a new one, perhaps a much better option is to build one permanently in your garden? This solution has many advantages and the construction of a brick barbecue is not complicated at all
Having a brick, stationary barbecue in your garden has many advantages. First of all, it allows you to once and for all arrange the resting area on the property, without having to change the place every season. In addition, a well-made barbecue also becomes a decoration and creates an atmosphere around the house. Another issue is that the preparation of food on it takes much less time, you do not have to unfold it every time, or shield it from the wind, because its design does it for users
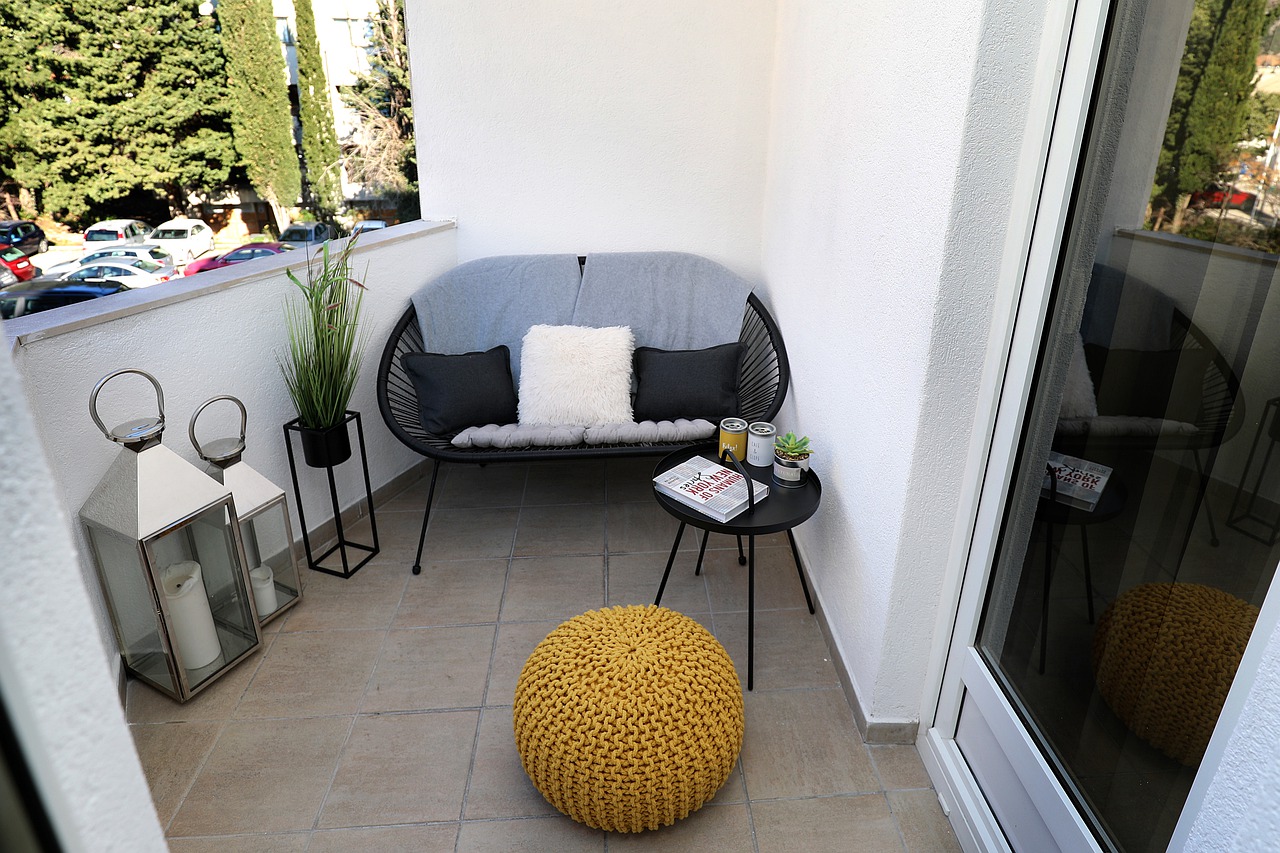
Before starting to build a brick barbecue, the first thing you need to do is to choose the place where you want it to stand. For some, the best location will be the one near the terrace, where all the necessary items in the house will be at hand. For others, a picnic setting surrounded by trees and bushes will be more important. Regardless of this, however, you should remember to place the barbecue in a calm and quiet place, so that it does not interfere with daily activities in the garden, for example, when it will not be used. When choosing such a place, you should also keep in mind that in the future it will be good to make sure to place a table and a chair or a bench around it to allow you to eat the meals you have prepared
Despite appearances, building your own barbecue is not a difficult task. All you have to do is follow the right sequence of work and take care. The whole process can be summed up in 5 simple steps. Before starting to make the barbecue, you should also take care of the materials. In the case of brick models, you will need such elements as
On the basis of the selected dimensions should be using stakes driven into the ground and strings stretched between them to determine the area of the barbecue. Then in such a designated area you need to make a trench for the foundation. When it is ready, its bottom should be filled with a layer of gravel and compact it, while maintaining the level. On so prepared surface pour concrete and leave it to set for about 2 weeks
>> See also: Types of garden smokehouses – which smokehouse to build?
On such prepared concrete screed we first “dry” lay the outline of the base of the barbecue in order to properly cut the bricks under it. Then, after preparing ready mortar for clinker bricklaying we again lay the base, placing spacers between bricks in order to maintain even joint
The next step is the laying of subsequent layers of bricks while checking each time the level of each layer. These works should be finished after obtaining the desired height of the barbecue. Next, you need to make the hearth foundation by laying the bricks with their longer sides towards the center of the grill on the top layer of the structure, on the previously installed flat bars that act as reinforcement
After this step, it’s time to install the flat bars that will serve as guides for the grate. They should be set at an appropriate depth so that they perform their function without any problems. In turn, where the hearth is provided, we put the sheet metal
The last step is to fix the prepared to size grate and ready
So prepared grill before its first use should still dry for about 2 weeks.