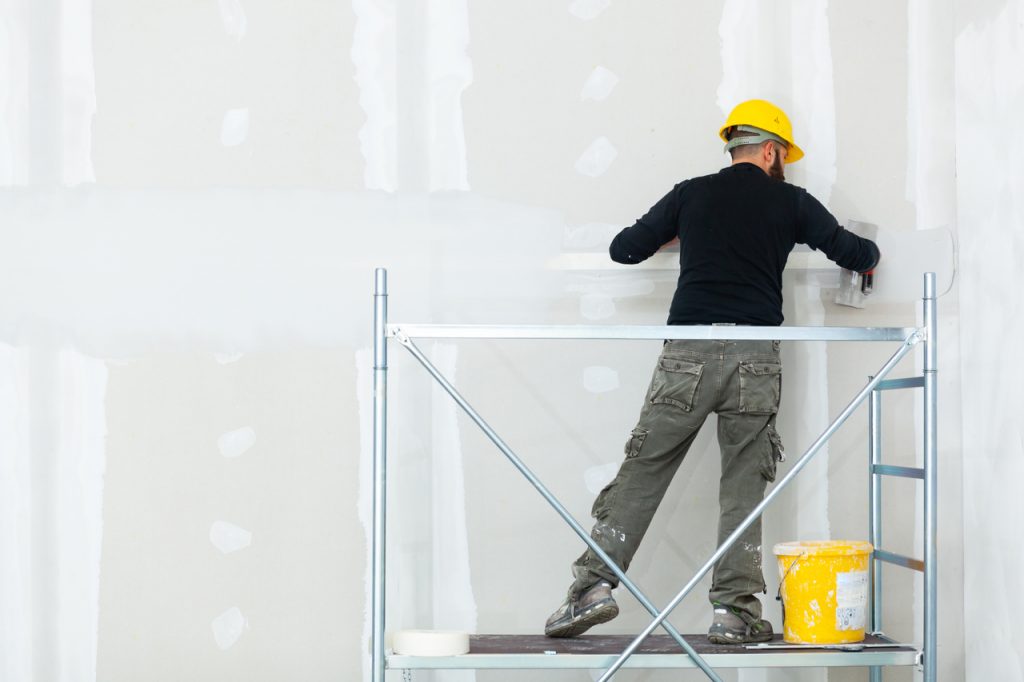
Walls often require proper preparation for further finishing or renovation works. It is necessary to carefully smoothen them. We have checked how smoothing walls works step by step.
Wall smoothing is aimed at levelling walls and filling small cracks, cavities and scratches so that walls can be painted or wallpapered later. This is a fairly simple activity that you can easily do yourself, but you have to keep in mind that it takes some time and requires a lot of precision, and thus also a lot of patience.
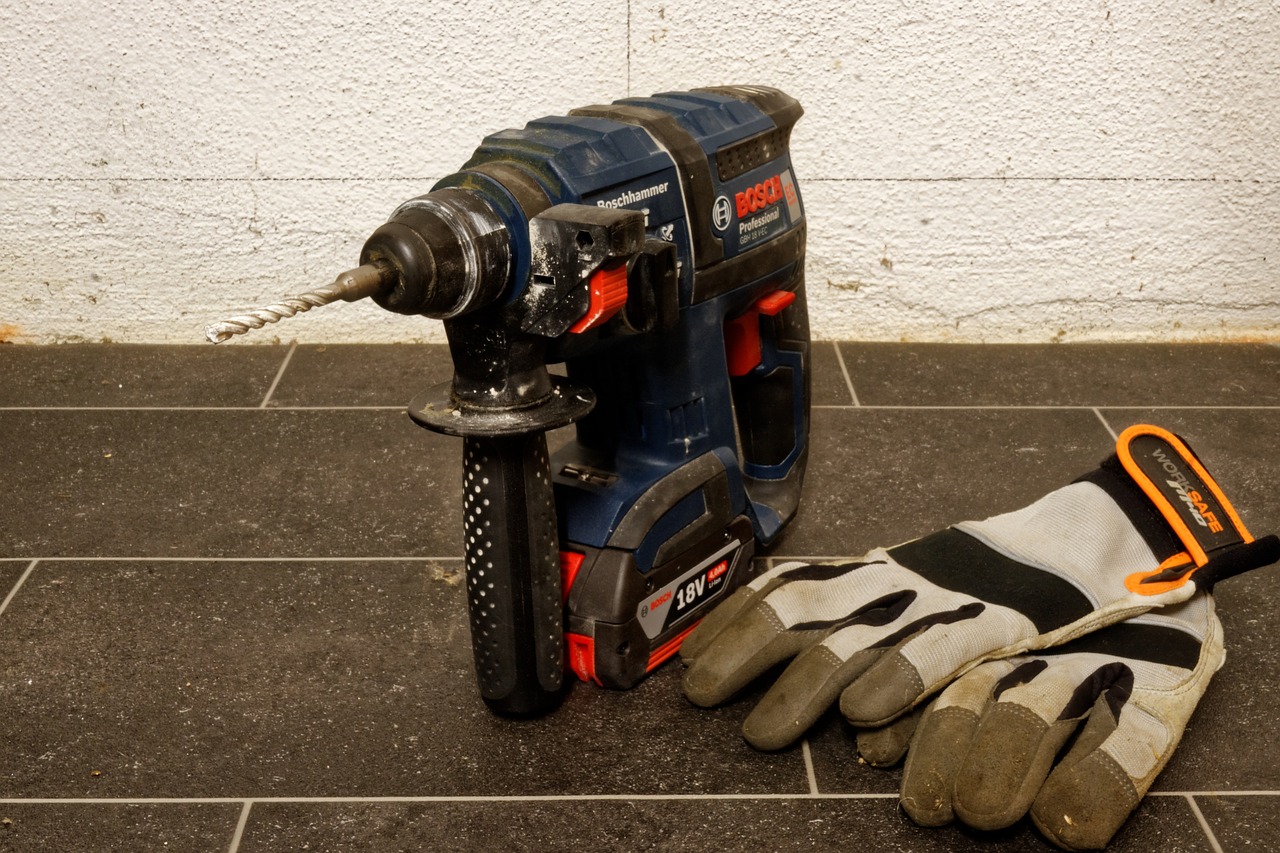
In this case, you will not do without the right tools and accessories. There are different theories, but specialists agree that you will need:
Of course, you can not forget about such products as joint compound, smooth and primer. There are many of them on the market, so you need to read their specifications and choose the right one.
The whole process starts with removing all furniture and objects and covering those permanently fixed with foil and painter’s tape. It is important as a lot of dust rises during this activity. We also secure curtain rods, door frames and baseboards.
Then we move on to thoroughly prepare the wall and clean it of old coatings, paint, falling plaster, cobwebs, dust, electrical outlets, hangers, nails, screws, plugs and other things located in the wall, as well as vacuuming the holes.
Before smoothing the walls you still need to prime them with an appropriate preparation, wait for them to fully dry (from 12 to 24 hours), fill in any defects and cover the whole with a filler to level out major irregularities. Here, it is very important to properly mix and stir the compound, according to the manufacturer’s recommendations on the package. There should be absolutely no lumps, even the smallest ones. Then we level the corners of the walls and trowel their surface
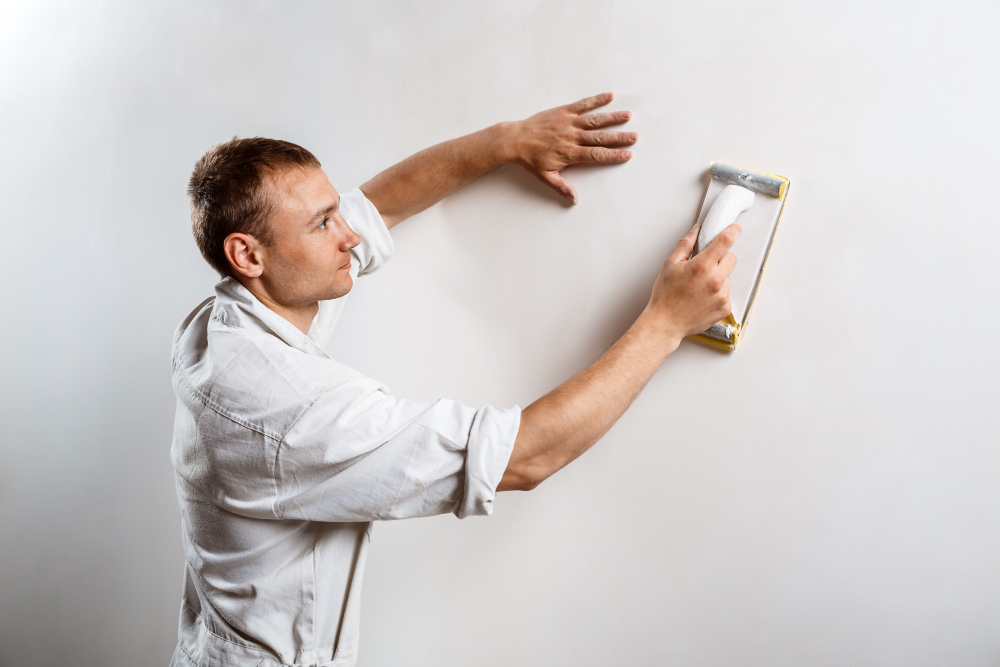
Now it is time for the last, proper stage – smoothing walls, that is, putting another layer of levelling. It will help to eliminate all scratches and dents that appeared during mudding (larger irregularities should be lightly scraped with a spatula).
The finishing coat can be easily sanded (which cannot be said about the putty) and its preparation must also be performed in accordance with the instructions, until it reaches a smooth consistency. Gypsum smooth is the most common material of choice.
We then apply it on a wide trowel and spread it over the entire surface of the wall in question, just like we did before when we were mudding.
Then, we are left with the last step, namely sanding the corners with a special cube and the whole with sandpaper placed on a specially adapted pad. We perform circular movements, moving slowly from the corners to the inside. This should be done carefully and without haste.
>> See also: Dust-free wall mudding
Thanks to this we will have a perfectly smooth and even surface and nothing will stand in the way of painting the wall with a chosen paint or sticking wallpaper. There should be no irregularities, scratches, cracks or lumps.