Finishing and decorating a house or apartment is a maze of questions, a time of tough decisions and even tougher challenges, especially if you have undertaken some of the work yourself without a construction background.
Fortunately, it is not necessary during some decorative and finishing procedures, such as putting decorative stone on the wall in the living room or hallway. Although this is a relatively new solution, it has already gained a lot of popularity and still has many supporters. Get to work!
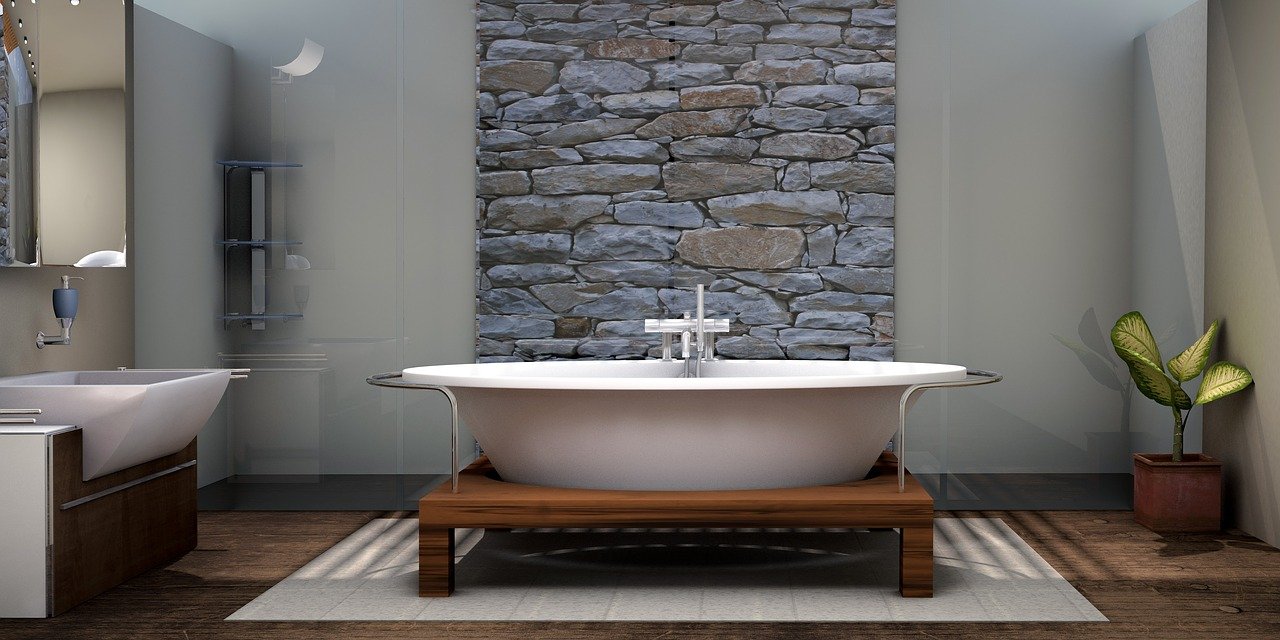
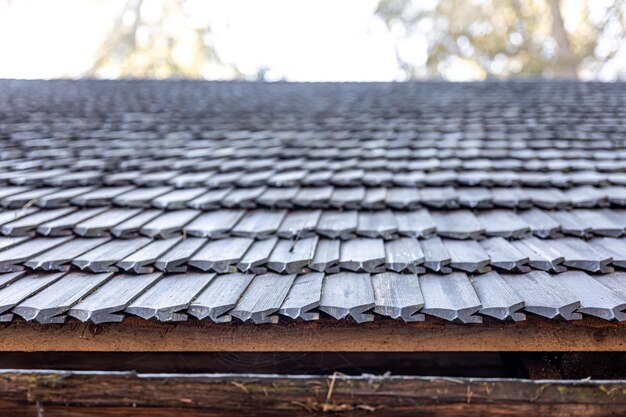
An interesting, uneven texture that catches the eye is just one of the advantages of decorative wall stone. You can install it both in the living room, bathroom, bedroom or hallway. It looks great and is a nice change from traditional walls painted with paint, covered with tiles or wallpaper. What’s more, it’s a durable material and easy to install, so you don’t need to hire a repair and construction team.
As part of step one, you must, of course, make a selection of the stone you intend to place on your wall. It is also worth considering whether it will be necessary to install it on the entire wall, or perhaps only on a section of it. Remember that if you intend to accentuate only a particular spot in the room, only a piece will suffice. An entire room or bathroom lined with stone will definitely overwhelm the arrangement.
At this stage you will also need to purchase all other necessary products such as wall primer, gypsum tile adhesive, impregnator for gypsum or stone surfaces and optional grout, if you decide to use it. Also gather the necessary equipment, namely: a wire or rice brush, protective gloves, painter’s film, plastic wedges, a trowel with teeth, an angle grinder with a stone cutting wheel, a level measure, a leveling strip and a pencil.
Secure the floor with plastic sheeting. Now it’s time to clean the walls of paint or adhesives, dust off with a vacuum cleaner, for example, and then prime the surface. If you are working on gypsum board, repeat this step twice. Allow it to dry for about 24 hours. After this time, above the floor you can attach a leveling strip and move on to the activity proper, i.e. laying and gluing the stone.
Now we are faced with by far the longest and most arduous stage of the work, namely laying the stone. Before we get down to work, let’s check how it looks in color in each package. It’s worth ensuring that we get the effect of variety on the wall, rather than the stains that can be created by arranging stones from a given batch one by one.
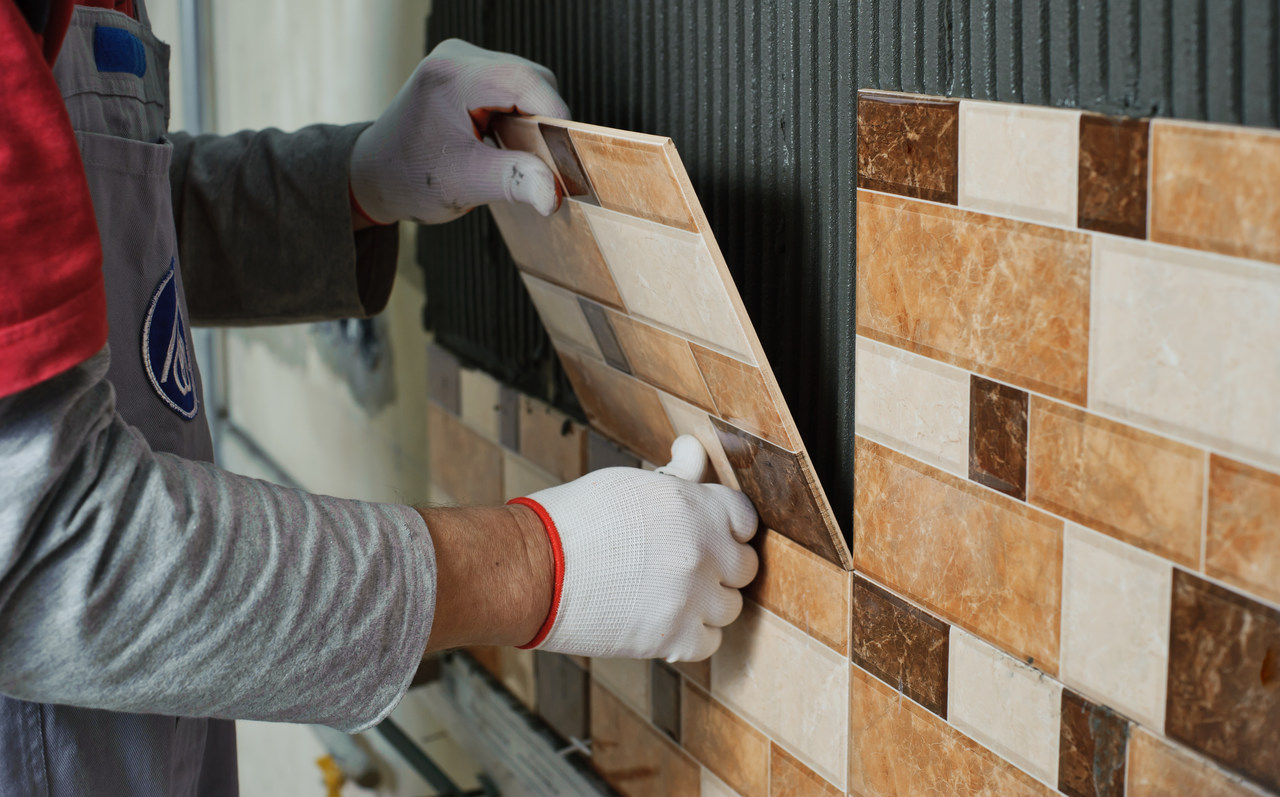
We arrange the pieces from the bottom. Take a single tile, clean it from behind with a wire brush, and then spread glue with a trowel. Be careful not to apply too thick a layer of glue. It will be safest if it covers about 80% of the back of the tile. Now all that’s left is to apply it to the wall. Where necessary, trim the questions with a sander. Also remember to remove any dirt that has formed as soon as you notice it, until the glue dries.
All that’s left is to wait the time expected by the manufacturer for the glue to dry completely, and then impregnate the surface. A spray impregnator will work best for this purpose. And there you have it!
main photo: pixabay.com/PIRO4D