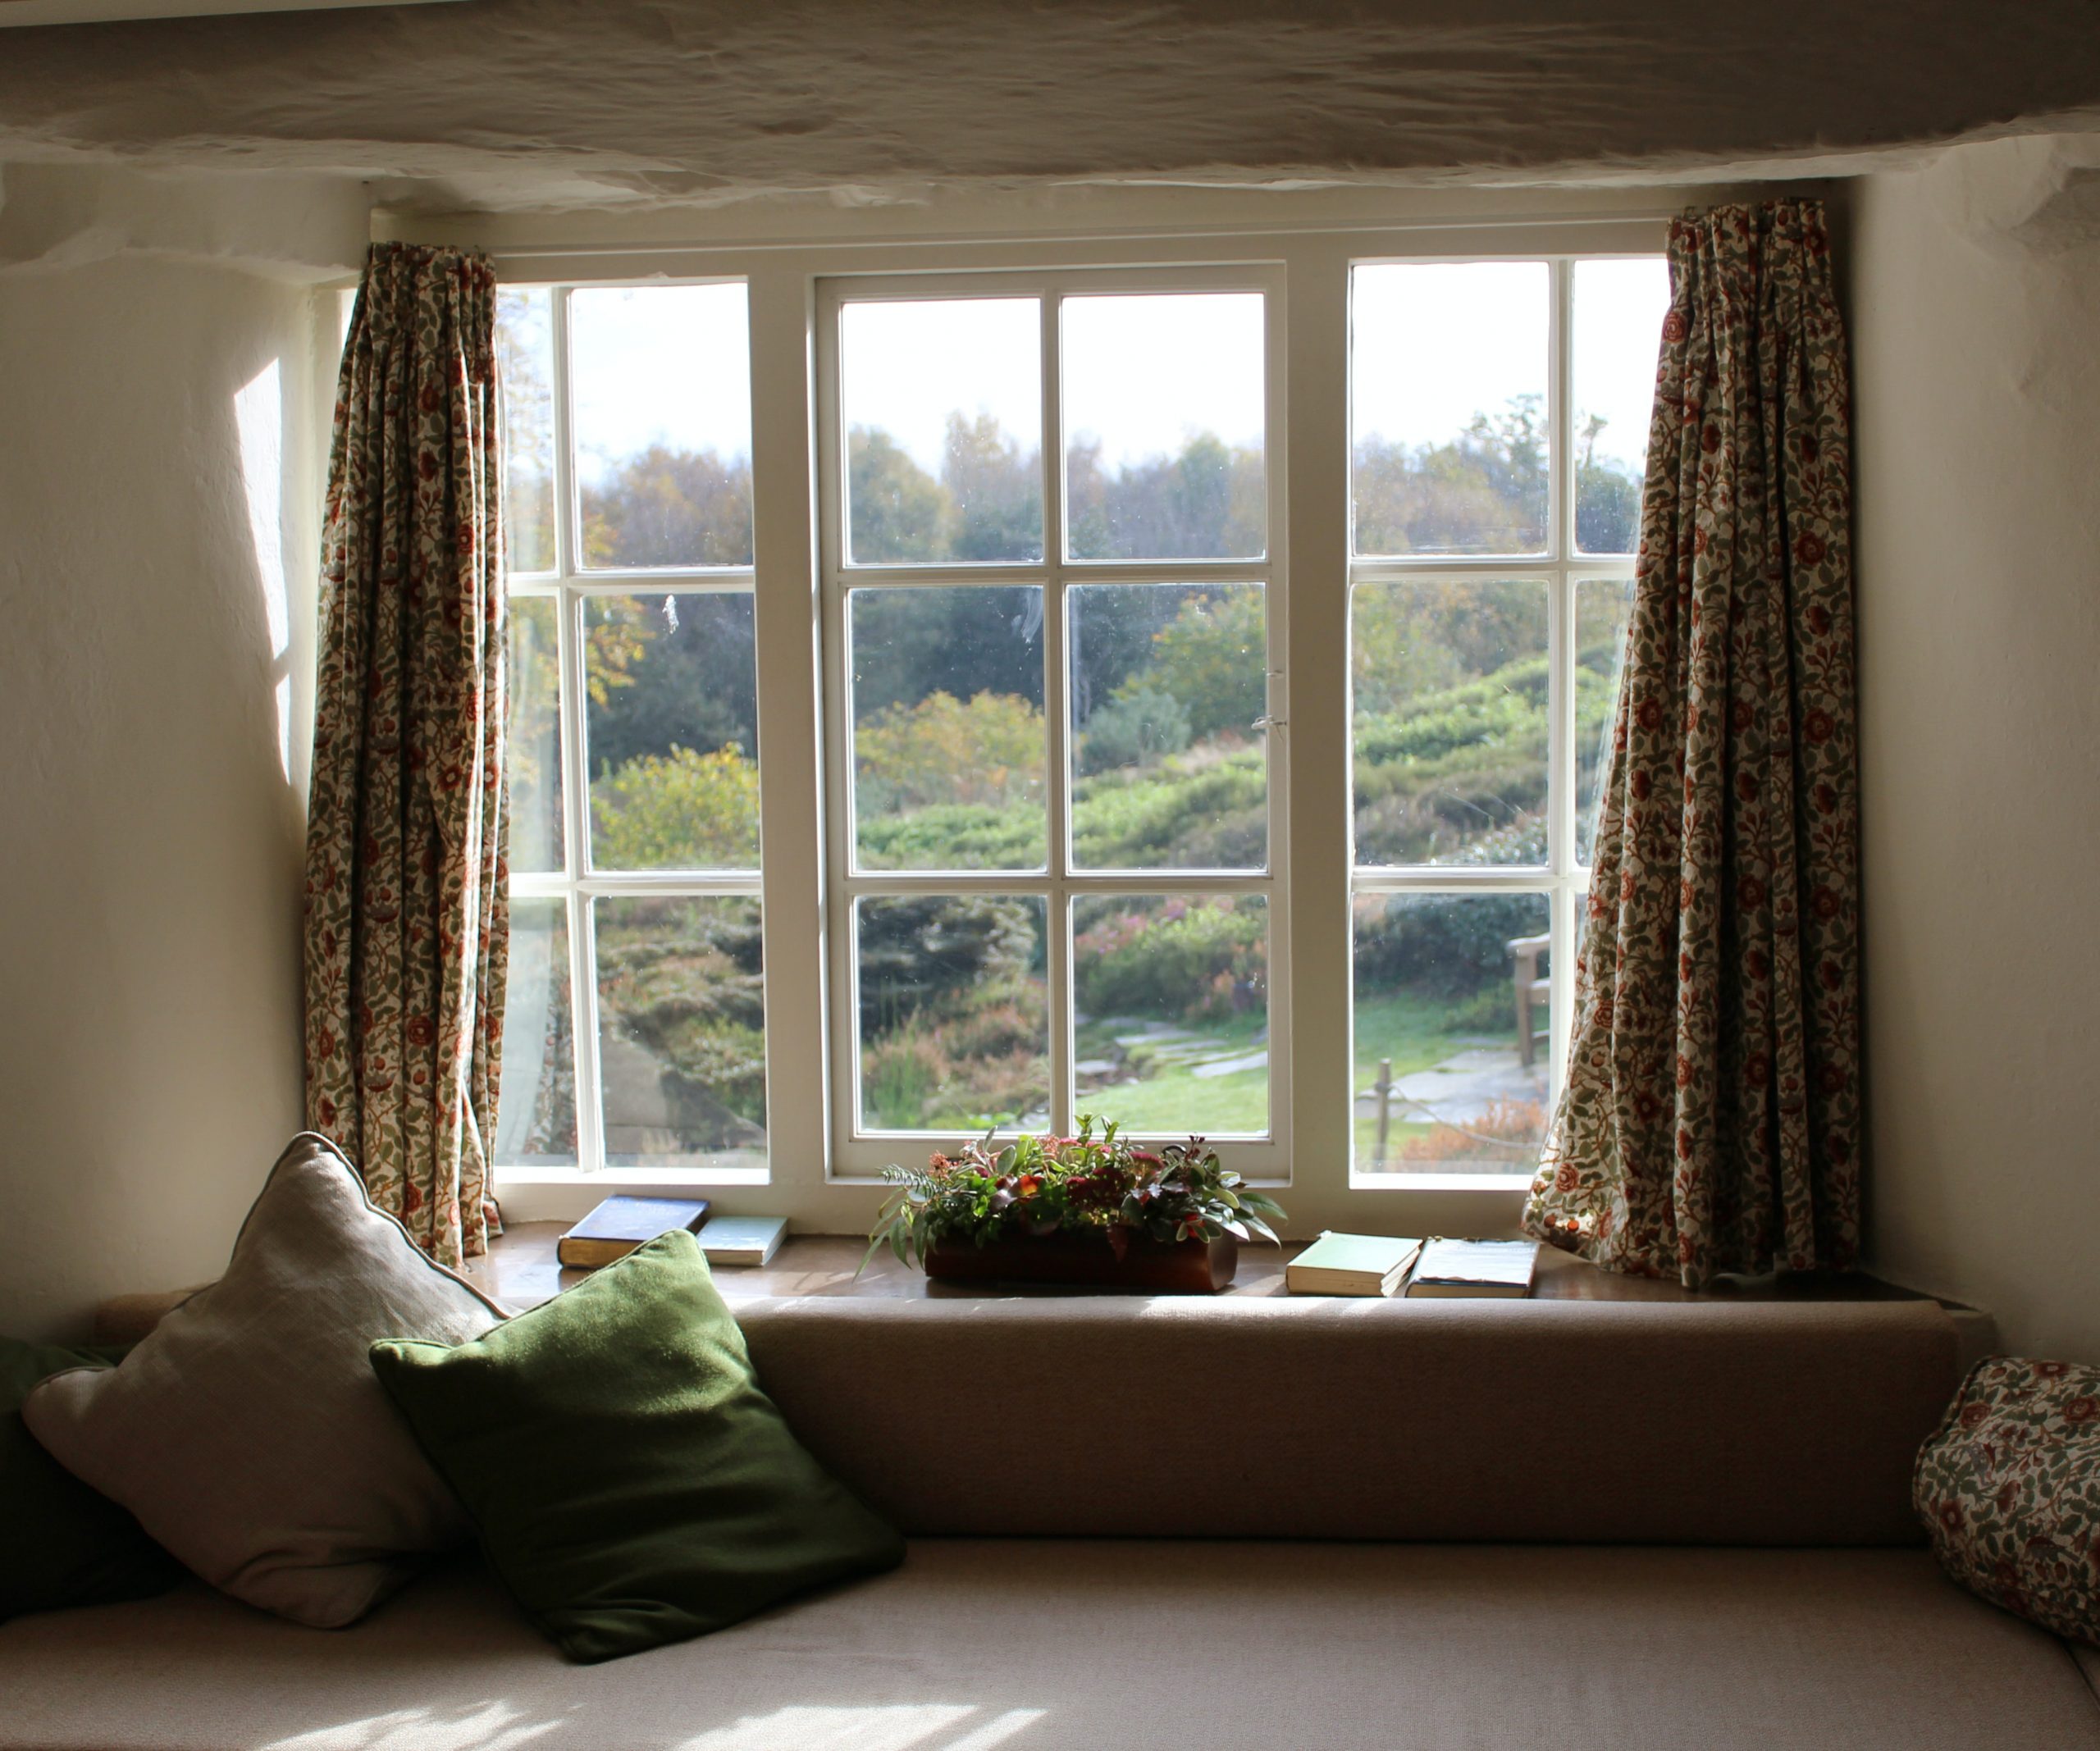
Wood is a material that is susceptible to temperature changes and moisture. However if properly preserved it can survive many decades. Once in a while it is worth to make some minor renovations in the window woodwork
Sometimes it turns out that renovation of wooden windows is more expensive than purchasing new PVC frames. However, wooden frames have an undeniable rustic charm that blends in with wooden log facades and old tenement houses. So it’s worth spending a little of your time to restore the former glory of wooden windows – even on your own
Some people prefer to first assess the condition of the windows and hardware, but you won’t really know anything definite without removing the sashes from their hinges. Depending on the type of window, the sashes are removed differently – sometimes it’s enough to lift the open sash and gently remove it from the hinges, sometimes you’ll need to unscrew the frames
It is worth remembering that the renovation of wooden windows should be done using gentle means. You have in your hands a fragile material that has withstood many years of frost, heat and humidity, so its structure is no longer as stable as it used to be – you don’t want to damage it further.
No cleaning products containing ammonia or solvents. A delicate cloth and ordinary dishwashing liquid or agents dedicated specifically to renovation of wooden surfaces will work best
Once you’ve cleaned the wooden structure, you can take a closer look at the defects and damage and assess their condition. Check carefully to see where the paint finishes are peeling and the wood is sterilized.
Also look at what is left in the window opening. Maybe the window frames and profiles need to be repaired as well? It is also worth looking at the glazing – replacing it is not a big problem, and after many years there may be losses of putty or deformation of the slats. Your further work will depend on what needs to be replaced
Over time, hardware components rust or crack due to weakness. It’s a good idea to replace old sash hinge mounts before you put restored frames on them. Replace the mounting screws. Then you can go on to correct the profiles – with a sander you can easily level out the unevenness and polish out the defects in the frame profile. The damaged sections can be filled with veneer strips, which are then adjusted to an even thickness by sanding
Before you put the wings back on the mounts, it is worthwhile to impregnate the wood – of course already cleaned and carefully sanded, without cavities and decayed parts. Impregnation protects the wood against damaging effects of temperature, UV radiation and moisture, and thus extends the life of the wood
Special impregnating preparations are applied with a brush, usually twice. Between the first and second coat, it is good to sand the wood again to get rid of any irregularities.
Main photo: Rob WingateHire/unsplash.com