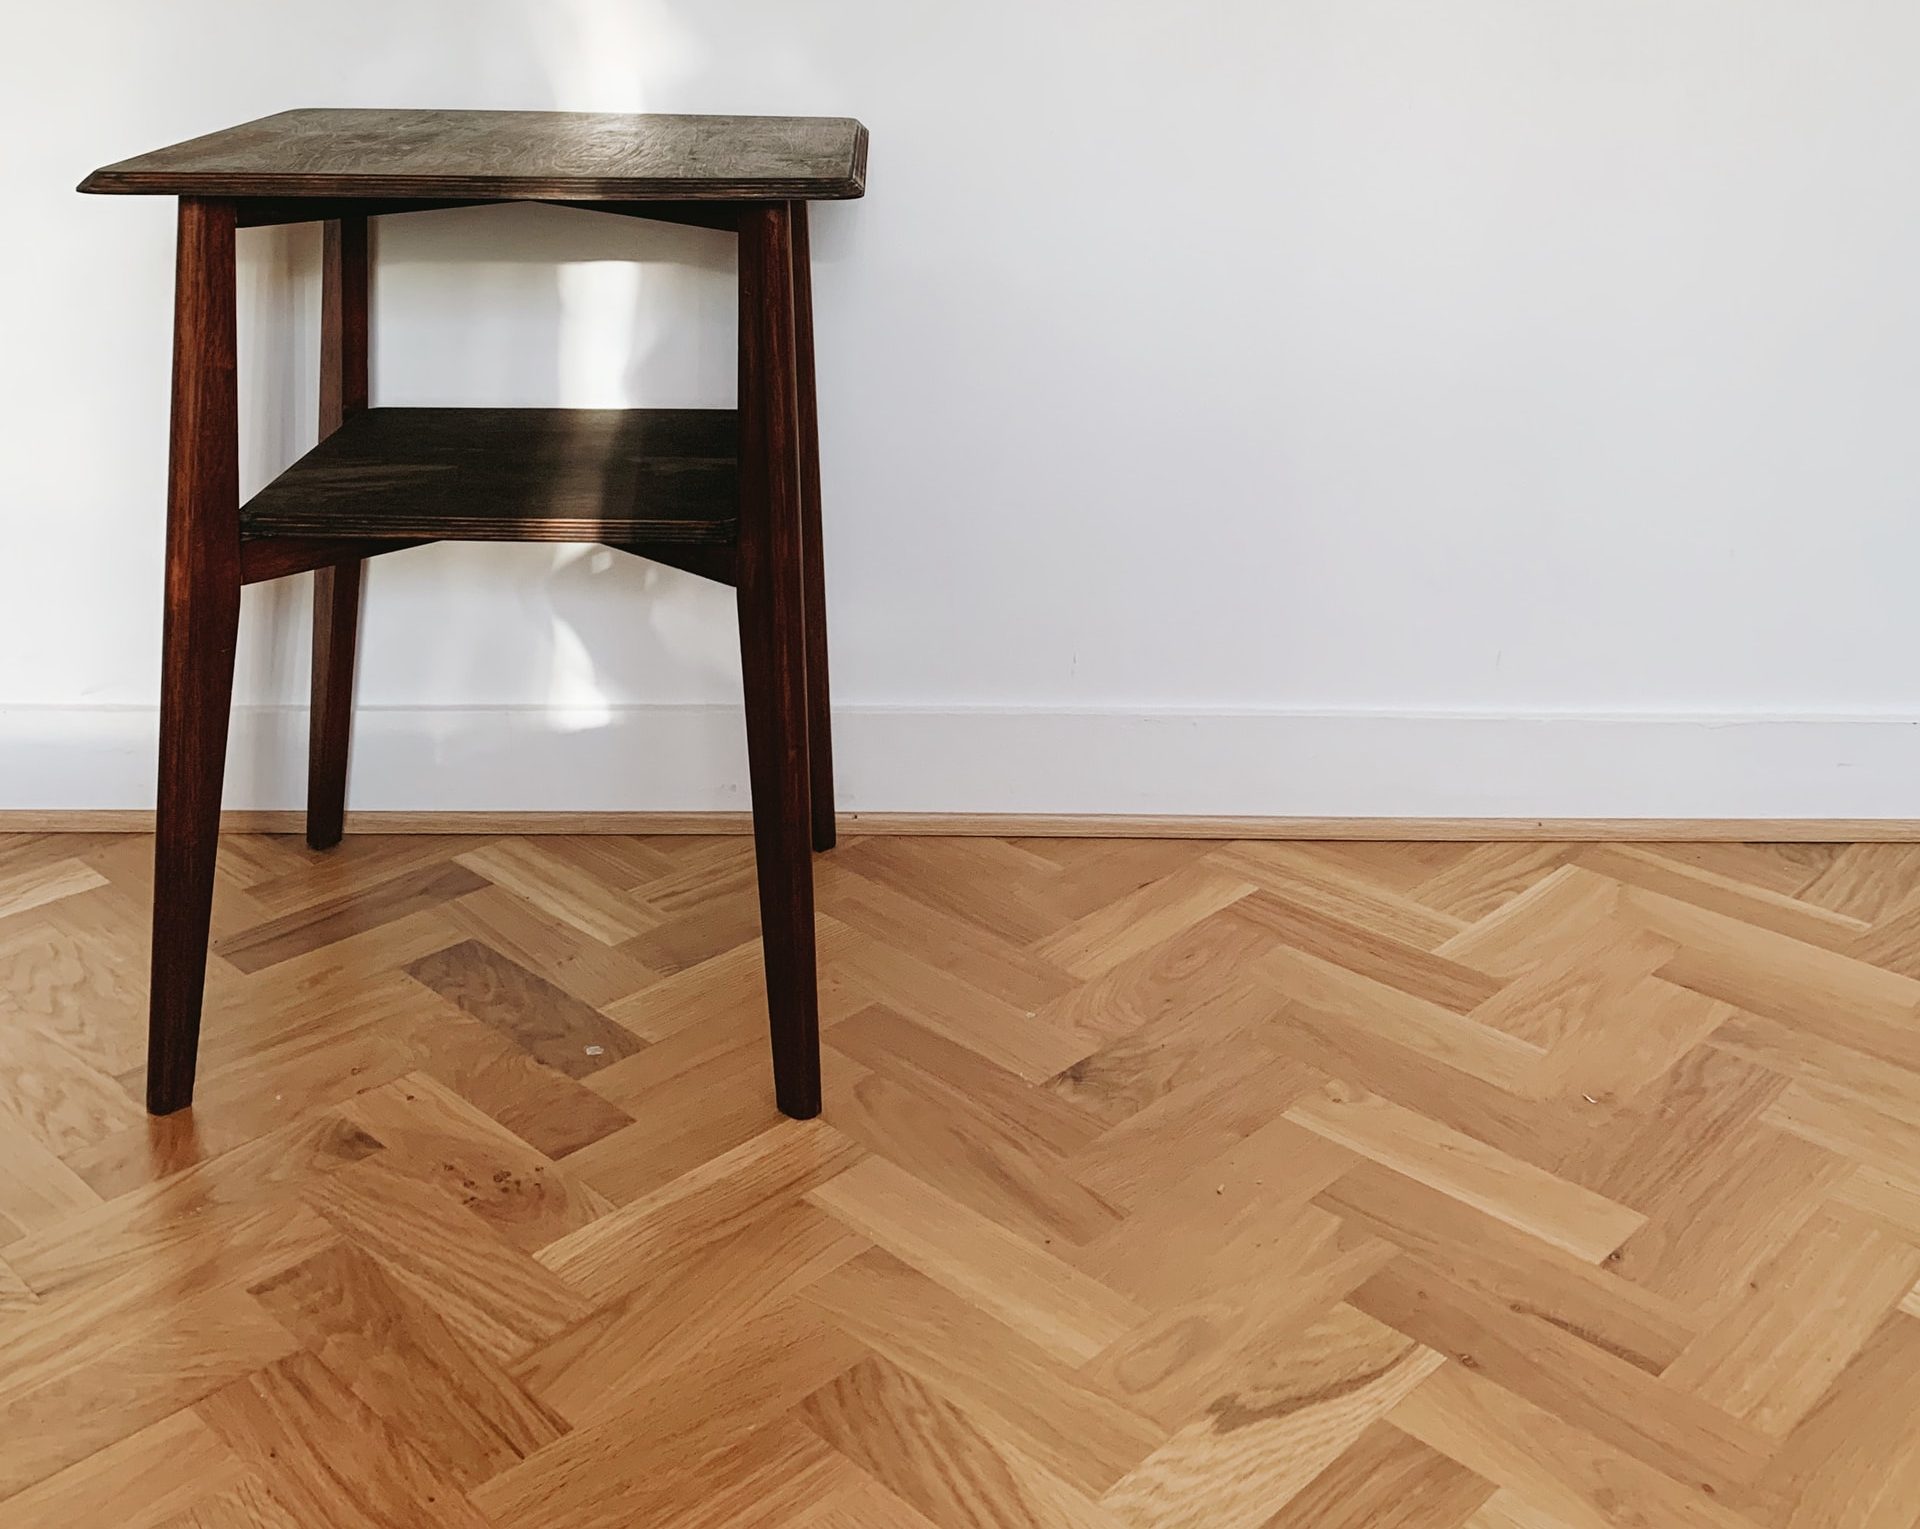
In modern apartments, it is difficult to find real parquet or flooring made of natural boards – because panels are cheaper, and according to many, also easier to install. And how does it look step by step?
One of the advantages of laminate is the possibility to install it by yourself. It is mentioned right next to low price, easiness to keep clean, big variety of colors and patterns and also high resistance. You don’t need a professional team or expensive equipment to make your floor look perfect – all you need is a will and a skilled hand!
Panels are very popular on the finishing market. They can imitate any materials – such as natural wood or concrete – but their installation is much easier, because usually individual elements are not fixed to the substrate with glue or nails (this is called floating floor). A wide range of panels is available in DIY stores, differing in parameters – such as thickness, resistance to moisture, gloss level
Once you have chosen your dream panels, remember about their proper preparation. They must acclimatize in the room. Do not take them out of the original packaging, just leave them for 48 hours in the place where they will be installed later. This will allow them to adapt to the conditions in the room. Be sure to check that the temperature is above 18 degrees and the humidity is below 70% – these are the necessary conditions to start the installation
There is also the question of proper arrangement of the boards. Usually, the panels are installed parallel to the window, so that the incident light coincides with the combined edges and hides them. However, if you want to optically lengthen the room, for example in a corridor, it is recommended to install the panels perpendicular to the source of light
Equally important as the installation itself is the preparation of the ground for the panels. They are installed when all finishing works are finished – walls and ceiling painted, and floors covered with screed. Make sure that the subfloor is even and the humidity of the screed or concrete does not exceed 3%. It’s also a good idea to vacuum thoroughly before installing the laminate – dust, dirt and sand can reduce the floor’s resilience and even cause it to buckle and split strips
Just before installing the laminate, cover the floor tightly with vapour-barrier foil to protect the strips from excessive damp. Apply successive strips of foil in such a way that they overlap by at least 10 cm, and use the excess material at the joints between the floor and the wall – turn up the external edges of the foil on the wall. Apply a layer of sound insulation directly on the foil. Depending on your preferences, it may be, for example, cork or felt
When installing the panels, it is extremely important to leave expansion gaps of 1-1.5 cm. These are special openings left between the panels and the wall, thanks to which the working floor has a chance to spread sideways, and not to bulge and swell, causing unsightly unevenness. Expansion joints are created with spacers laid between the staves and the wall
The first row starts in the back left corner of the room. Remembering to lay the strips in accordance with the guidelines described earlier (usually parallel to the window), start installing the floor. In the first row, it is necessary to cut the tongue or groove of the panels with a saw so that they form a coherent whole against the wall.
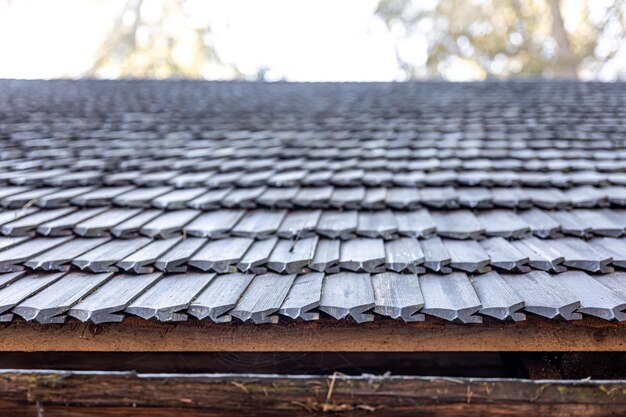
>> See also: Noble base – the oak floor
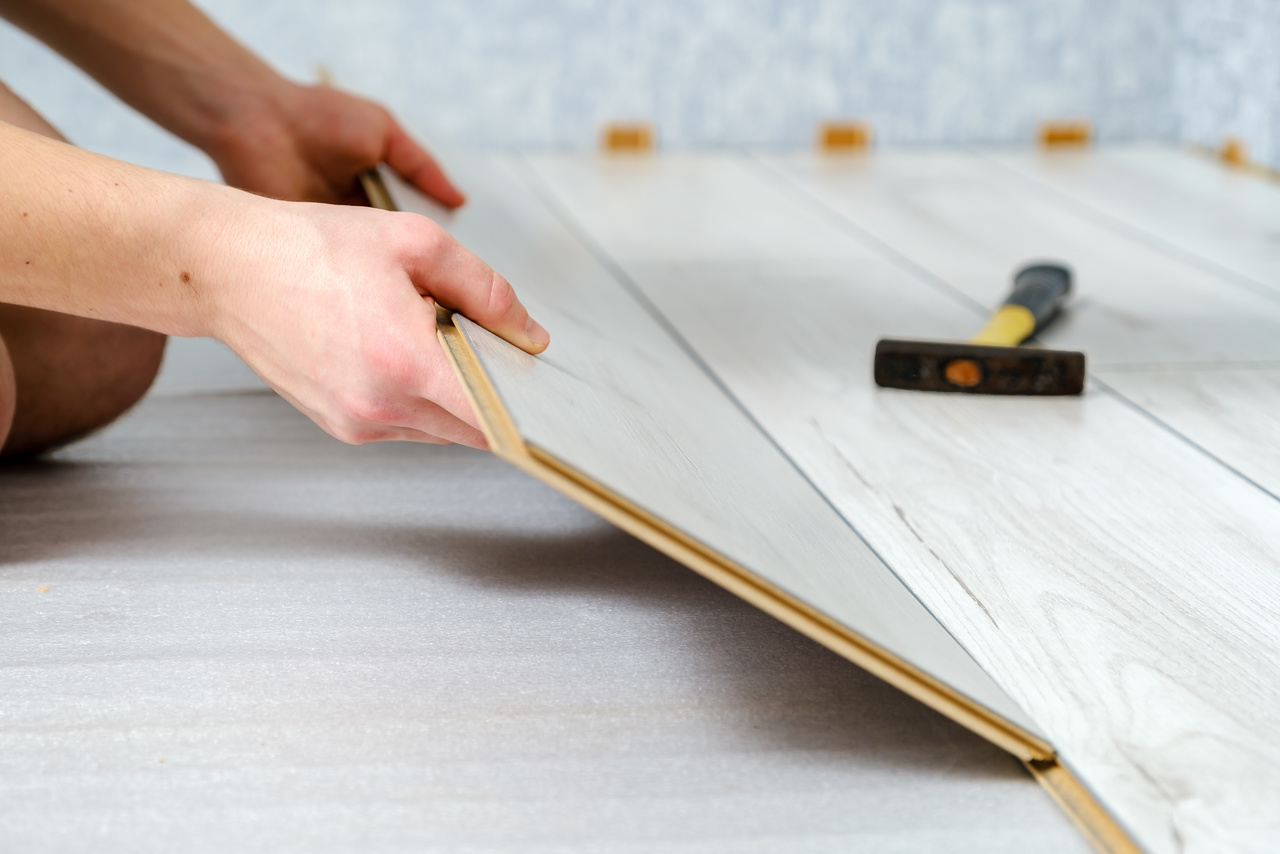
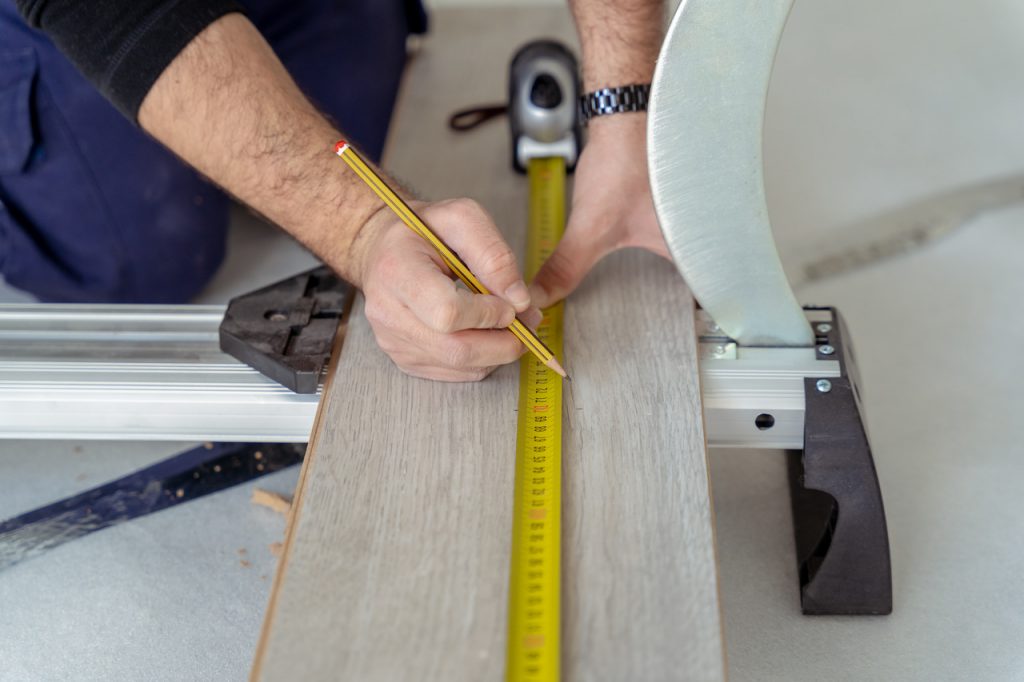
You connect the individual staves to each other with their shorter sides – place the tongue of one panel in the groove of the previous panel, already laid on the floor, and lower it. The last element in a row is usually cut to size. To do this, you can use, for example, a guillotine for cutting floor panels. Remember that the last element in the row should not be less than 40 cm, and start the next row from the rest of the cut stave
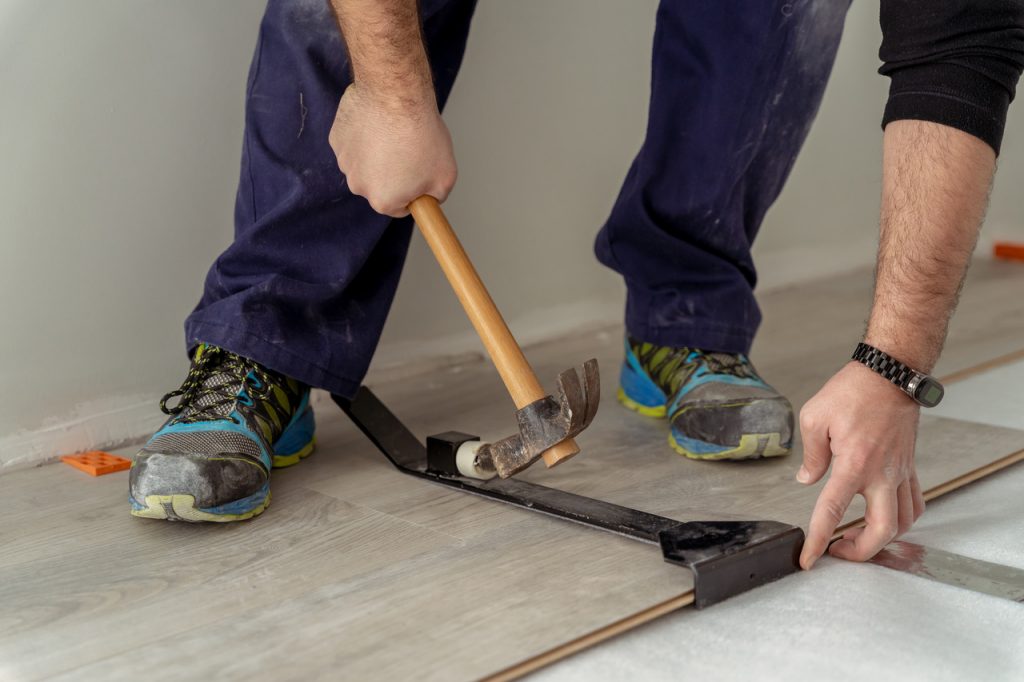
Lay subsequent rows in strips, and only then do you fit them to the elements already laid out and tap them with a wooden block and a hammer.