Sponsored article
Surely you have wondered many times how to approach this issue. Although we decide on tiles in our bathroom or kitchen because of their practicality (manifesting itself, for example, in easy cleaning), eventually there comes a moment when we want to change them for something else. How to get down to it, so as not to suddenly find yourself in the middle of a chaotic construction?
The reason for replacing tiles does not always have to be renovation and changing them all for new ones. Sometimes it can be a matter of a crack in the bathroom tile on the floor or wall. Such situations happen even to the most durable, best quality materials. Without a doubt, the crack spoils the harmonious effect of the entire room and is simply unaesthetic. The only solution is to replace the tile.
Another situation in which we may want to replace one particular tile is plumbing or electrical alterations. In such a situation it is very important to remove the tile in a way that will not damage it.
If we don’t want to make a mess around us, we really don’t need to remove our tile or terracotta. This method is noisy, lengthy and simply impractical. The best solution is to use a hammer drill if you have one. Tiles can also be stripped manually. Then you will need:
Regardless of whether you are replacing marble tiles, terracotta, tile or porcelain stoneware, the first step is always the same. You start by getting rid of the grout around the tile. Many tools can be used for this. The above mentioned knife is just an example; you can also use a cutter, a special tip for removing grout from a drill, but also a screwdriver – it’s just a matter of what you have on hand and what you are comfortable with. Why remove the grout? First of all, it makes further work easier. Another reason is that by removing grout, there is less risk of damaging other tiles. This is a tedious task, but very important – if you take it lightly, you could lose more than you gain.
If your tiles are in good condition and you just need to replace them now, it’s a good idea to number them after removing them. Why? If your tiles form a pattern, such as a popular herringbone or are patchwork tiles, this will avoid the confusion of reattaching them later. It is also important to thoroughly clean them of old adhesive and level the ground under the tile.
If a tile is only suitable for throwing away because it has cracked, first drill it in several places and then hit it with a rubber mallet. This way, the tile will crumble into several pieces that can be easily removed. A hammer drill will also work great for this.
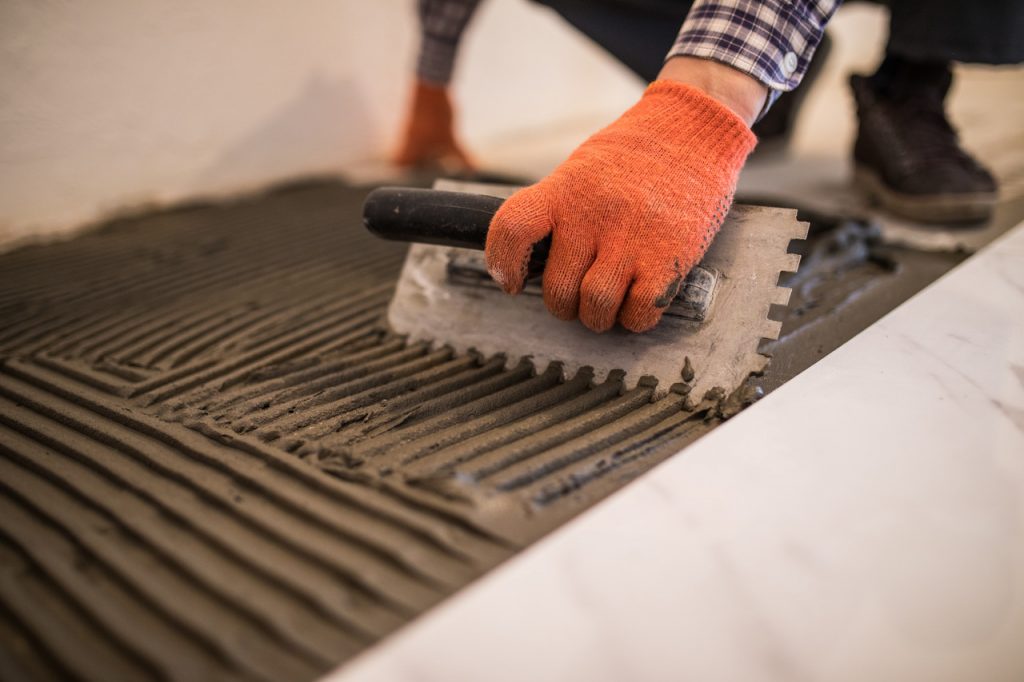
At this stage, we will need painter’s tape. It is used to tape the surrounding tiles so that they do not get dirty during priming. Before you do that, you should carefully remove the remains of old mortar from the surface, for example using a spatula. After priming, wait a day and only then apply the adhesive. It is worth knowing that the adhesive mortar must be selected for particular tiles, so before going to the store, it is worth knowing what kind of tiles we are going to put it under. Spacer crosses, which are used to maintain equal distances between individual tiles, will also come in handy here.

The final stage of tile replacement is grouting. It takes place a day after the tiles are glued. After removing the tape and the crosses, the gaps can be filled with grout using a rubber float and levelled with a damp sponge. It takes about ten minutes for the grout to harden, then you just have to clean the tiles and… Done!