A partition wall is an inexpensive and simple way to quickly change the function of an interior. What is worth knowing before we start installing a plasterboard partition wall?
Partition walls are not structural elements of a building (as opposed to load-bearing walls they do not take the load of other building elements), thanks to which they allow to quickly change the arrangement of the interior – by dividing a room into two separate rooms or marking out a part of a given zone, giving us a sense of more intimacy and freedom (e.g. in a form of a wall separating the relaxation zone from the dining space). Most often such partitions are made of glass or gypsum-cardboard panels. This method does not require using many technologically advanced tools or much experience because regips is really easy to process (plasterboards can be cut with an ordinary knife). If the ceiling and floor screed are strong enough, you can also use a material with a higher weight, e.g. bricks or cellular concrete.
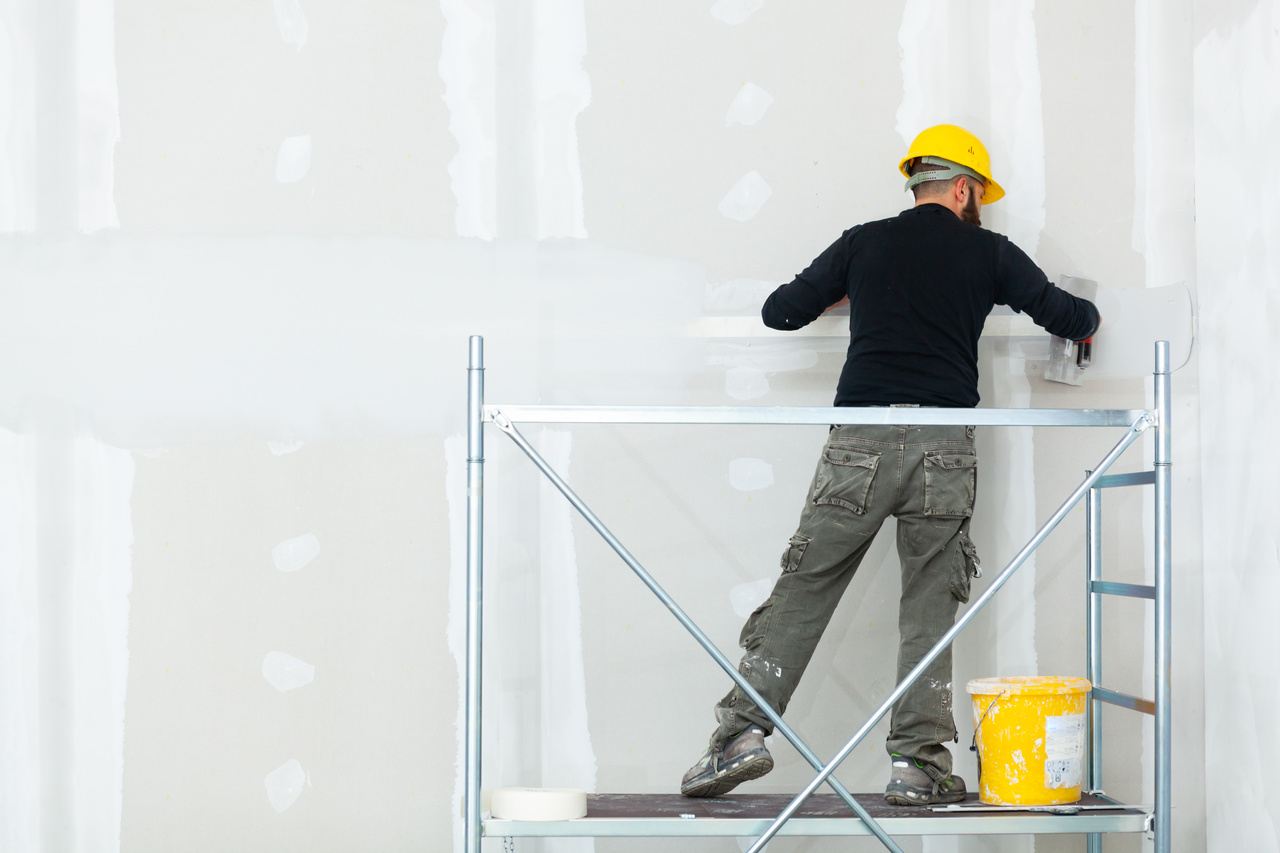
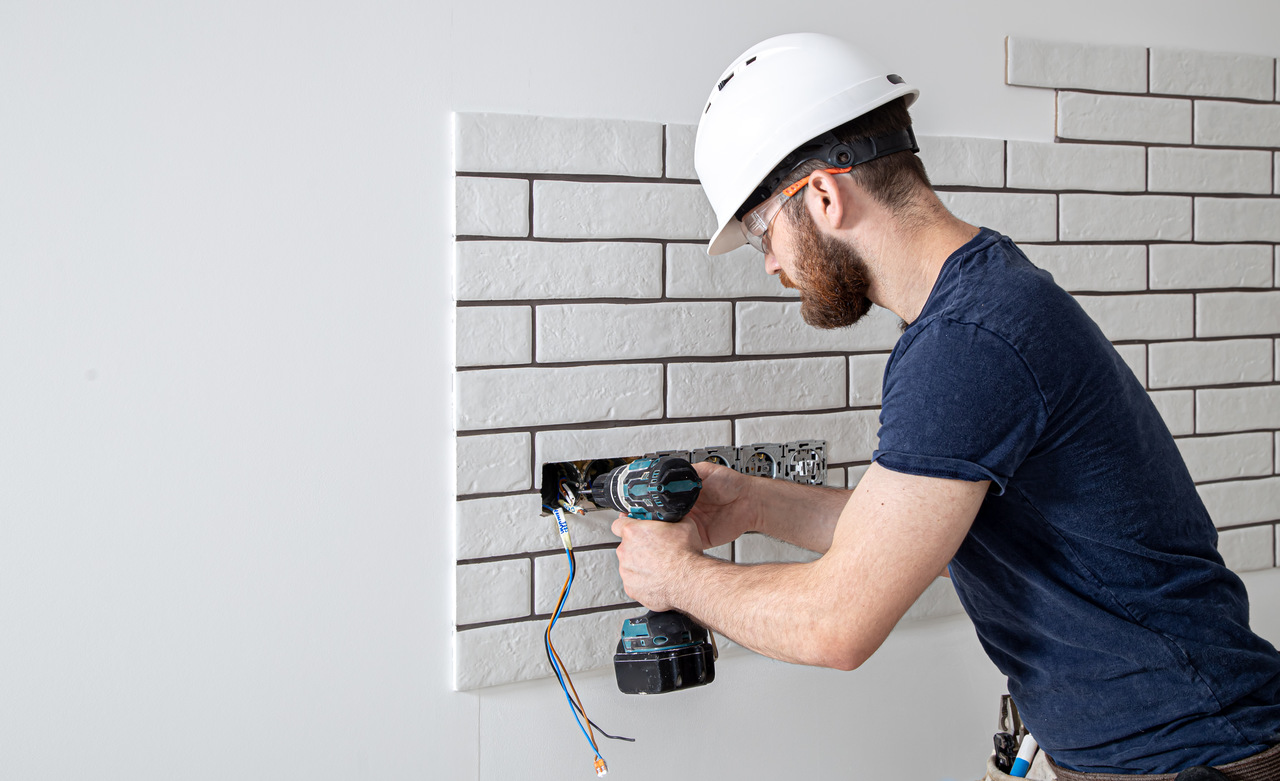
Building a partition wall from cardboard-plaster, popularly known as regips, consists in the assembly of a framework of profiles made of aluminum or metal, to which the cardboard-plaster panels are then attached on both sides. To put up this type of partition we do not have to hire a professional construction team – we can successfully do all renovation work on our own. Where to start?
See also: How to install a plasterboard in a flash?
The first step is to choose an appropriate type of plasterboard in terms of its specification and purpose. For example, in bathrooms, kitchens or laundry rooms, water-resistant plasterboards (green in color) of enhanced resistance to moisture should be used. In a bedroom, living room or children’s room we can use standard plasterboard, i.e. boards of light gray color. Apart from plasterboards we have to buy:
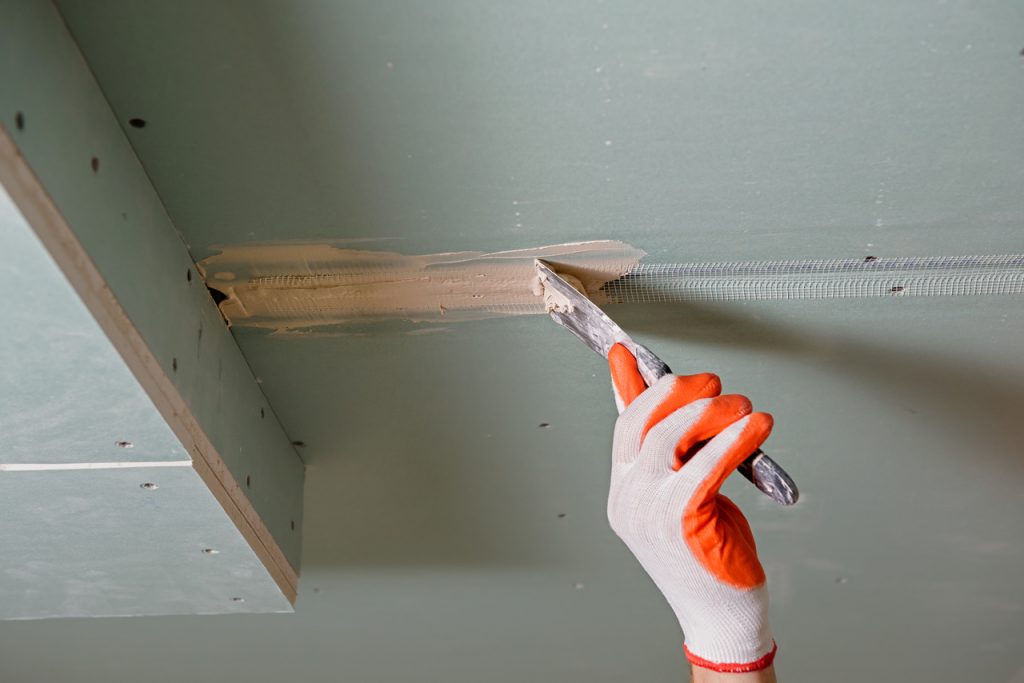
Then we have to precisely mark out the building lines (profiles on the floor, walls and ceiling). To make the frame skeleton of the wall, we use aluminium profiles cut and covered with sealing tape (so that they correspond to the marked out lines), which we assemble to the side walls (vertical elements), floor and ceiling (horizontal elements). To assemble the profiles, we have to use wall plugs – fastening them every 80 cm maximum. Next, we complete the frame with vertical profiles (spacing every 30-60 cm). Now we can cut boards and fix them to a metal structure with sheet metal screws – starting from one side, then filling the inside with acoustic wool and closing the frame with plaster on the other side. Finally, it is enough to tape the plasterboard joints with a glass fibre tape and to seal them together with the places of screws.
The cost of materials needed to build a light frame wall covered with plasterboards 10-12 cm thick is about 60-80 PLN/m2. So it is a very affordable method of dividing interiors
To sum up, partition walls made of plasterboards (skeleton construction) are currently the most popular way of dividing rooms in houses and apartments. This solution is chosen by many investors who have a limited budget. We hope that thanks to our guide you will easily build a partition wall, improving the functionality of a given interior.